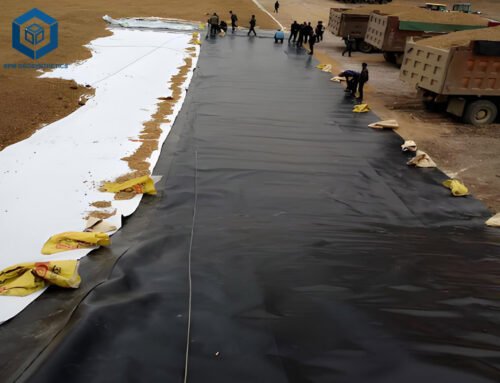
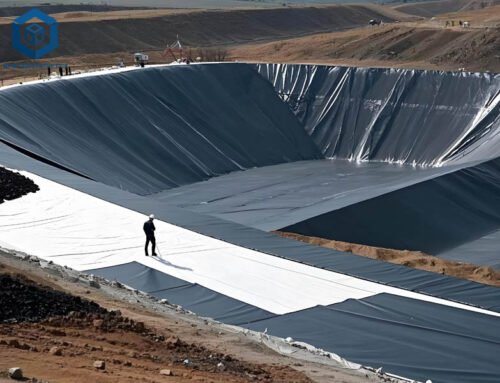
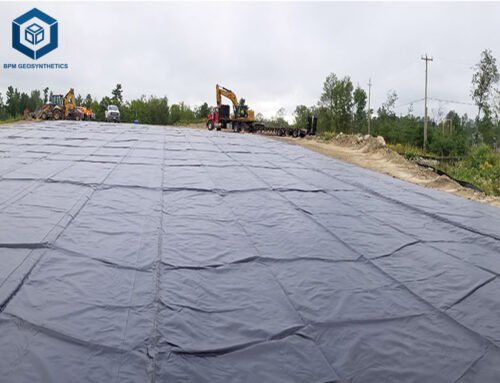
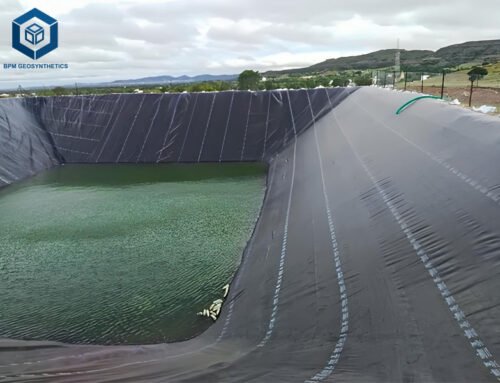
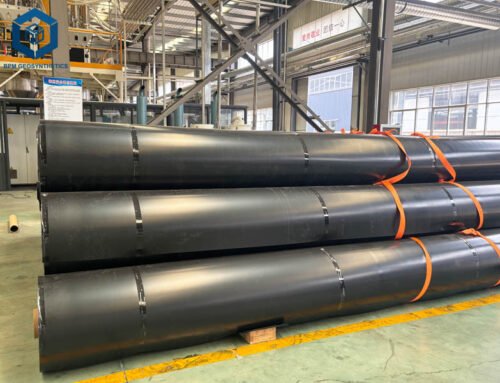
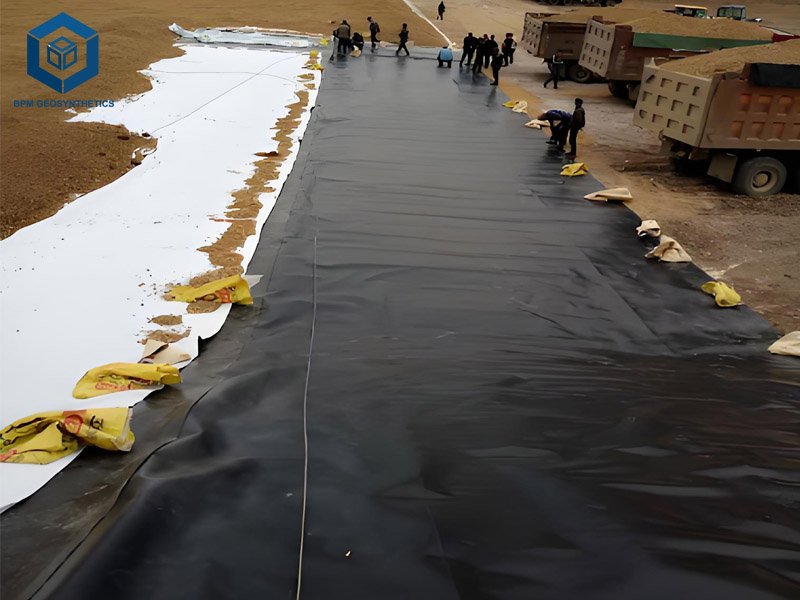
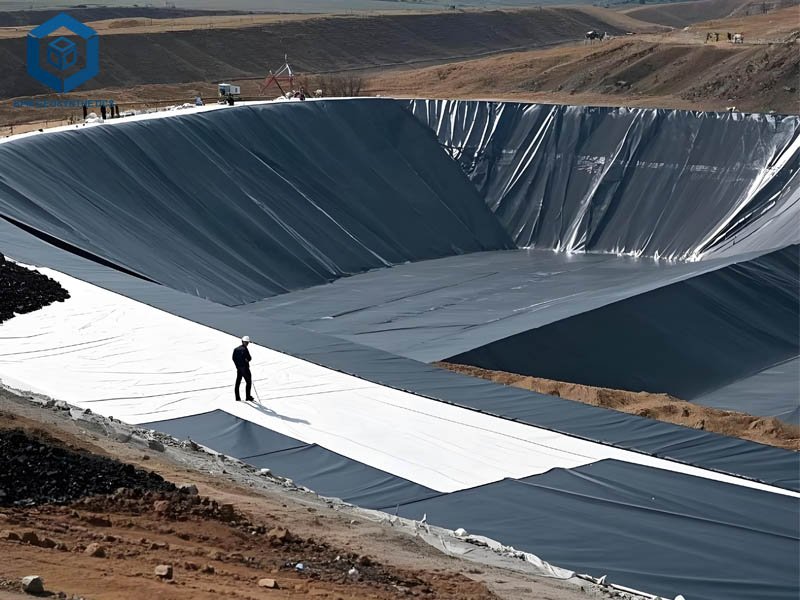
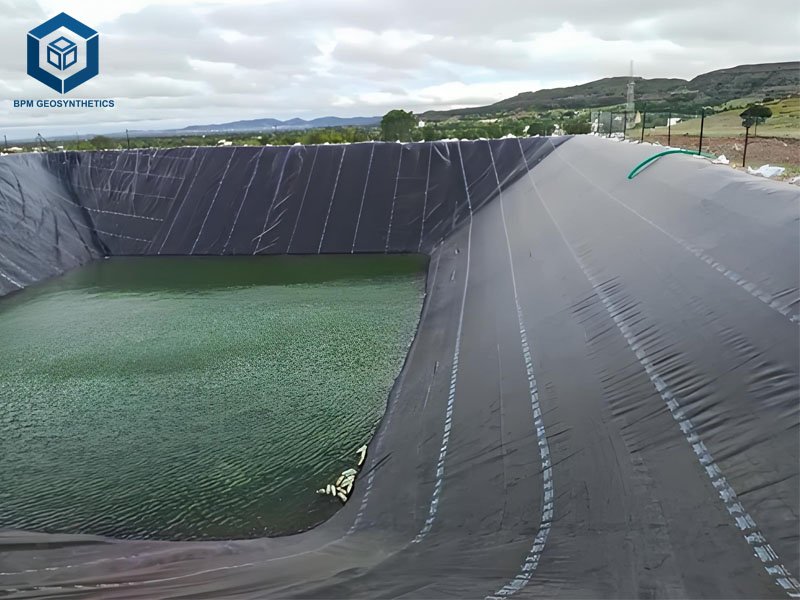
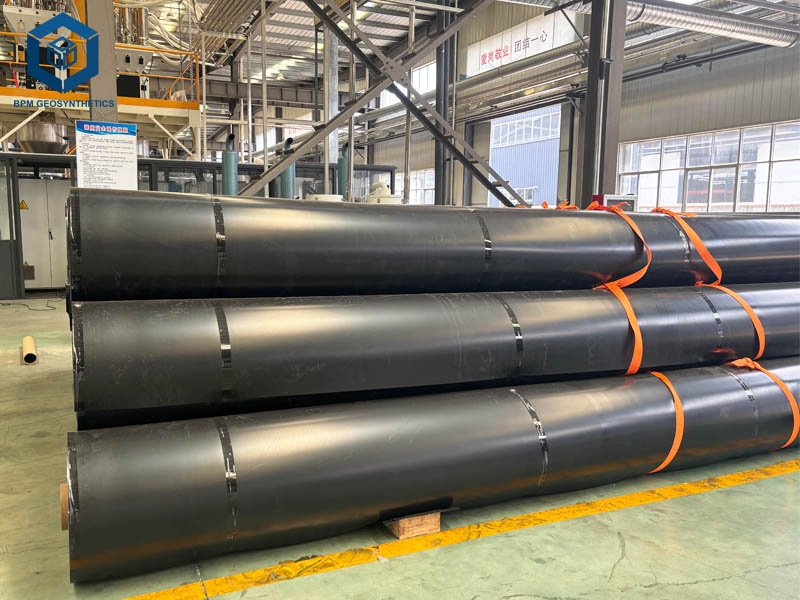
Pond liners are critical for maintaining water integrity in ponds, water gardens, and aquaculture systems, preventing leaks and ensuring a healthy ecosystem for fish, plants, and other aquatic life. Made from materials like high-density polyethylene (HDPE), ethylene propylene diene monomer (EPDM), polyvinyl chloride (PVC), or linear low-density polyethylene (LLDPE), these geomembrane liners are designed for durability, with lifespans of 20–100 years in buried applications (Geosynthetic Institute, 2023). However, punctures, tears, or seam failures caused by sharp objects, wildlife, or wear can compromise their performance, leading to water loss and environmental damage. According to a 2024 pond maintenance report, up to 30% of pond owners face liner leaks annually, with repair costs ranging from $100 to $5,000 depending on the damage and method.
Repairing a pond liner underwater is a practical solution when draining is not feasible due to fish, plants, or project constraints. This ultimate guide provides a comprehensive, step-by-step approach to patching pond liner damage underwater, drawing on industry expertise from manufacturers like BPM Geosynthetics (BPM Geomemrbane). Whether you’re a homeowner with a backyard koi pond or a professional managing a commercial water feature, this guide offers detailed specifications, parameters, and actionable insights to restore your pond’s integrity efficiently and cost-effectively.
1. Understanding Pond Liner Damage
Pond liners are subjected to various stressors that can cause damage:
- Punctures: Caused by sharp objects like rocks, roots, or tools, typically 1–5 cm in diameter, reducing water retention by up to 10 gallons per day for a 1 cm hole (Pond Informer, 2017).
- Tears: Result from wildlife (e.g., herons, raccoons) or mechanical stress, ranging from 2–30 cm in length, often along seams or folds.
- Seam Failures: Occur in welded or taped joints, especially in HDPE (0.5–2 mm thick) or PVC liners, due to improper installation or UV degradation, leading to leaks of 5–50 gallons per day.
- Material Degradation: UV exposure or chemical corrosion in PVC liners (0.5–1 mm thick) can weaken the material, reducing lifespan by 20–30% if exposed (BPM Geosynthetics, 2024).
Underwater repairs are ideal for small to medium damages (up to 30 cm) in HDPE, EPDM, or PVC liners, as they minimize disruption to aquatic ecosystems. For larger tears or extensive degradation, full liner replacement may be necessary, costing $0.50–$3.00 per square foot for materials alone.
2. Tools and Materials Needed for Underwater Pond Liner Repair
Before starting, gather the following tools and materials, ensuring compatibility with your liner type:
- Patch Material: Self-adhesive patches (6 x 18 inches, 42 mil thick) or liner scraps matching the pond’s material (HDPE, EPDM, PVC). For example, TotalPond’s Pond Liner Repair Patch is compatible with EPDM and PVC.
- Underwater Adhesive/Sealant: Waterproof, fish-safe sealants like Gold Label Black Sealant or Pond Pride, designed for underwater curing, with bond strengths of 1–2 MPa (Amazon, 2024).
- Cleaning Tools: Soft-bristled brush, scrubber pad, or cloth to remove algae and debris.
- Cutting Tools: Scissors or utility knife for shaping patches to a circular form (2–30 cm diameter) to prevent fraying.
- Primer (Optional): LVOC primer (e.g., QuickPrime Plus) for EPDM liners to enhance adhesion, applied at 0.1–0.2 L/m² (Aquascape, 2024).
- Weights: Clean stones or weights (0.5–2 kg) to hold patches during curing (8–12 hours).
- Protective Gear: Disposable gloves and safety glasses to handle adhesives safely.
- Roller: Small patch roller (3–6 cm wide) to ensure a smooth, bubble-free seal.
Ensure all materials are fish- and plant-safe, as non-specialized adhesives can release toxic chemicals, reducing water quality by 10–20%.


3. Step-by-Step Guide to Patching a Pond Liner Underwater
Follow these detailed steps to repair pond liner damage underwater, ensuring a durable, watertight seal. This method is suitable for HDPE, EPDM, and PVC liners with damages up to 30 cm in size.
Step 1: Locate the Leak
Identifying the leak is critical for effective repair:
- Observe Water Loss: Turn off the pond’s pump and monitor water levels for 24 hours. A drop exceeding 1 inch per week (beyond evaporation) indicates a liner leak (Pond Planet, 2024).
- Inspect Visually: Look for bubbles, water movement, or debris accumulation near the leak, typically along the waterline or bottom.
- Use Dye (Optional): Add non-toxic pond dye (0.01–0.02 L/m³) to highlight water flow through the leak, effective for small punctures (1–2 cm).
If the leak is deep (below 50 cm), underwater repair is ideal to avoid draining, which can stress fish and disrupt plants.
Step 2: Assess the Damage
Determine the size and type of damage to select the appropriate repair method:
- Small Punctures (1–5 cm): Use self-adhesive patches or sealants, costing $10–$30 per kit.
- Medium Tears (5–30 cm): Require larger patches (15–30 cm diameter) with underwater adhesive, costing $20–$50.
- Large Tears (>30 cm): May necessitate professional replacement, costing $500–$5,000 for a 1,000-square-foot pond.
For HDPE liners (0.5–2 mm thick), ensure the patch material matches the liner’s tensile strength (20–40 kN/m, ASTM D6693) to maintain integrity (BPM Geosynthetics, 2022).
Step 3: Clean the Damaged Area
A clean surface is essential for adhesion, even underwater:
- Scrub the Area: Use a soft-bristled brush to remove algae, dirt, and debris within a 15 cm radius of the leak. This increases adhesive bond strength by 20–30% (Amazon, 2024).
- Rinse: Gently agitate water around the area to clear loose particles, avoiding damage to the liner.
- Dry (Optional): For non-underwater adhesives, drain water 10–15 cm below the leak and dry with a clean cloth. This step is unnecessary for underwater sealants like Gold Label.
Step 4: Prepare the Patch
Proper patch preparation ensures a seamless repair:
- Cut a Circular Patch: Use scissors or a utility knife to cut a patch 5–10 cm larger than the damage (e.g., a 10 cm patch for a 5 cm tear). Circular patches reduce fraying by 15% compared to square ones (Pond Informer, 2017).
- Smooth Edges: For HDPE or PVC liners, trim jagged edges around the damage with a razor to prevent air bubbles, which can reduce seal strength by 10–20% (BPM Geosynthetics, 2021).
- Test Fit: Place the patch over the damage underwater to confirm coverage, adjusting as needed.
Step 5: Apply Underwater Adhesive or Sealant
Underwater adhesives are designed to cure in wet conditions, ensuring a watertight seal:
- Select the Right Adhesive: Use fish-safe, underwater-curing sealants like Pond & Stone’s Great Stuff (cures in 8 hours) or Gold Label Black Sealant (cures in 12 hours), with bond strengths of 1–2 MPa.
- Apply Adhesive: Spread a 2–3 mm thick layer of sealant over the patch’s adhesive side, covering a 5 cm radius around the damage. For EPDM liners, apply QuickPrime Plus primer (0.1 L/m²) first to enhance adhesion (Aquascape, 2024).
- Press Firmly: Place the patch over the damage, pressing firmly for 30–60 seconds to ensure contact. Use a roller to remove air bubbles, increasing seal durability by 15%.
Step 6: Secure the Patch
To ensure the patch adheres properly:
- Add Weights: Place clean stones or weights (0.5–2 kg) over the patch to maintain pressure during curing (8–12 hours). This prevents patch lift-off, which can occur in 5–10% of underwater repairs (Pond Planet, 2024).
- Monitor Adhesion: Check for bubbles or detachment after 1–2 hours, reapplying pressure if needed.
Step 7: Test the Repair
After curing, verify the repair’s effectiveness:
- Refill the Pond: Gradually restore water levels, monitoring for leaks over 24–48 hours. A stable water level confirms a successful repair.
- Check Water Quality: Test pH (6.5–8.5) and ammonia levels (<0.02 mg/L) to ensure the adhesive hasn’t impacted the ecosystem, as poor-quality sealants can increase ammonia by 10–20% (Living Water Aeration, 2023).
- Inspect Visually: Look for bubbles or water movement around the patch, indicating a failed seal.
4. Advanced Techniques for Underwater Repairs
For complex damages or specific liner types, consider these advanced methods:
- Double-Layer Patching: For HDPE liners (0.75–2 mm thick) with tears >15 cm, apply two overlapping patches with 5 cm overlap, increasing seal strength by 20–30% (BPM Geosynthetics, 2024).
- Underwater Tape: Use double-sided seam tape (e.g., QuickSeam Splice Tape, 3 inches wide) for EPDM liners, offering a bond strength of 1.5 MPa and reducing installation time by 10–15% (Webb’s Water Gardens, 2024).
- Epoxy Sealants: For rigid liners (e.g., concrete or plastic), use underwater epoxy like WaterWeld putty, which cures in 15 minutes and withstands water pressure up to 0.2 MPa (The Fabulous Garden, 2019).
These methods are ideal for deep ponds (>1 m) or high-pressure environments, ensuring durability under stress.


5. Safety and Environmental Considerations
Underwater repairs require careful attention to safety and ecosystem health:
- Fish and Plant Safety: Relocate fish to aerated holding tanks if using non-fish-safe adhesives, as toxic chemicals can reduce oxygen levels by 10–20% (Pond Informer, 2017). Use fish-safe sealants like PondGard-approved products.
- Chemical Handling: Wear gloves and safety glasses when applying adhesives, as some primers (e.g., QuickPrime Plus) contain volatile compounds (Aquascape, 2024).
- Water Quality: Monitor water parameters post-repair, as adhesives can alter pH or ammonia levels, affecting aquatic life within 24–48 hours.
- Environmental Impact: Dispose of excess adhesive and patch materials properly to avoid contaminating soil or water, reducing environmental impact by 100% (Living Water Aeration, 2023).
6. Preventing Future Pond Liner Damage
To minimize future leaks and extend liner lifespan:
- Use Geotextile Underlay: Install a non-woven geotextile (100–300 g/m²) beneath the liner to reduce punctures by 25–30%.
- Regular Inspections: Check the liner annually for wear, especially in UV-exposed areas, where degradation can reduce lifespan by 20% (Geosynthetic Institute, 2023).
- Protect Against Wildlife: Install netting or fencing to deter herons and raccoons, which cause 15–20% of liner tears (Pond Planet, 2024).
- Maintain Water Quality: Keep pH (6.5–8.5) and ammonia (<0.02 mg/L) stable to prevent chemical degradation of PVC or EPDM liners.
7. When to Call a Professional
While small to medium repairs are DIY-friendly, professional intervention is recommended for:
- Large Tears (>30 cm): Require full liner replacement, costing $0.50–$3.00 per square foot for HDPE liner or EPDM liner.
- Deep Ponds (>2 m): High water pressure (0.2–0.4 MPa) complicates underwater repairs, necessitating specialized equipment.
- Seam Failures: Welded seams in HDPE liners (0.5–2 mm thick) require professional re-welding, costing $500–$2,000 for a 1,000-square-foot pond.
- Persistent Leaks: If repairs fail after two attempts, professionals can use leak detection systems, increasing success rates by 20–30% (Living Water Aeration, 2023).
Contact reputable suppliers like BPM Geosynthetics for professional repair services or replacement liners.
7. Conclusion
Repairing pond liner damage underwater is a practical, cost-effective solution for maintaining pond integrity without draining, preserving aquatic ecosystems and reducing costs by 20–50% compared to full replacements. By following this ultimate guide—locating leaks, cleaning the area, applying fish-safe underwater adhesives, and securing patches—you can achieve a durable, watertight seal for HDPE, EPDM, or PVC liners. With proper tools, materials, and techniques, small to medium damages (1–30 cm) can be repaired in 1–2 hours, costing $10–$50. For long-term success, prioritize regular maintenance, use geotextile underlays, and monitor water quality. For complex repairs or professional assistance, reach out to BPM Geosynthetics for expert guidance and high-quality materials, ensuring your pond remains leak-free for decades.